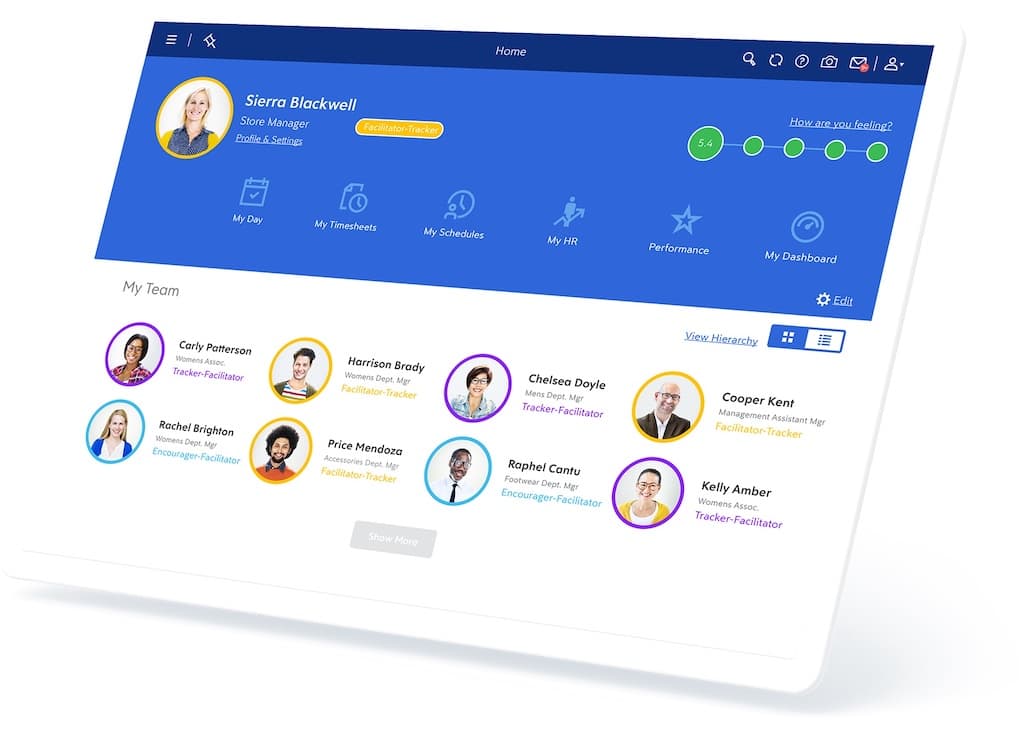
Are you looking to update your direct deposit information on Dayforce? Well, you’re in the right place!
These are the basic steps for changing your direct deposit on Dayforce:
- Log in to your Dayforce account.
- Choose the “Forms” tab.
- Scroll down to access “Direct Deposit.”
- Update and save your direct deposit information.

What You’re Going To Need
Well, first things first, you’ll need some important deets to update direct deposit on Dayforce:
- Your Dayforce login credentials
- Your bank account information, including the routing number and account number
- Your new direct deposit allocation percentages (if applicable)
- Your social security number or employee ID number for verification purposes
Once you have these details with you, you’re all set to update that direct deposit.
Step 1: Log In to Your Dayforce Account
To switch up your direct deposit on Dayforce, you need to log in to your Dayforce account. Don’t worry! The security guards are on high alert. They’d ensure your top-secret info stays under wraps.
Remember that golden ticket you got when you first signed up? Yup, that username and password combo is your pass to your Dayforce account.
Tip
If you forget your username or password, don’t fret. The login page’s got your back! Just follow the easy prompts they provide to reset your credentials. You’ll probably have to drop some deets like your email or employee ID to confirm that you’re really you before they let you change your username or password.
As soon as you’ve successfully unlocked the gates to your account, you will have the power to tweak and adjust it as you see fit.
Step 2: Choose the “Forms” Tab
Once you’re logged in to your Dayforce account, hit up the “Forms” tab.
You can find all sorts of forms, like tax forms, direct deposit forms, and benefits enrollment forms, without even leaving your couch! Just click on the “Forms” tab and fill them out digitally. No more hassle!
With Dayforce’s Forms tab, you can say goodbye to that pesky paper trail and hello to a streamlined process for submitting and managing all your essential docs. No more wasting time on paperwork – now you can focus on what really matters: getting stuff done!
Tip
You can keep track of any outstanding forms that you may need to submit to your employer. You can also review your forms’ status and see which forms you’ve already submitted and which ones are still pending. Isn’t that neat?
Step 3: Scroll Down to Access “Direct Deposit”
After heading to the Forms tab, take a little journey down the page until you find the “Direct Deposit” option.
When you click on the “Forms” tab, you’ll see a list of forms that you can fill out and submit, including the “Direct Deposit” form. Don’t get discouraged if the “Direct Deposit” form isn’t in plain sight – it’s like a hidden gem waiting to be discovered. Keep scrolling and you’ll find it!
Use your keyboard skills or the scroll bar on the right side of the screen to travel down to the “Direct Deposit” form. Just keep going until you reach your destination on the left side of the screen. Once you’re there, click on it to begin updating!
Tip
Take your time and soak up all the important information along the way. When you finally spot the “Direct Deposit” option, be sure to read the instructions like your financial future depends on it (because, well, it kinda does).
Step 4: Update and Save Your Direct Deposit Information
I’m so glad you’re here. Finally, it’s time to get your direct deposit game on. Keep all the new deets ready and update that money-making info! Don’t forget to hit save!
To update your direct deposit information, make sure to grab those bank digits, like the account number and routing number. Need a hint? Check out that personal check, or give your bank a call. Oh, and double-check for typos, or you might just end up delaying your money deposits!
Before you hit that “submit” button on your updated direct deposit info, make sure you’re entering the right info. You might even get a little prompt to double-check. So, pay attention. If you’re still a little lost in all the details, don’t hesitate to reach out to your bank or HR official.
No more waiting in line at the bank, my buddy! By updating and saving your direct deposit information in Dayforce, you’ll be skipping the queue and getting your hard-earned cash straight into your bank account.
Tip
Once you’ve just submitted your updated direct deposit information, you’ll receive a confirmation message that the changes have gone through without a hitch (well, if they have!). Don’t forget to make a record of these important details, whether it’s a screenshot or a confirmation email.
Final Thoughts
Congratulations! You’ve successfully navigated the twists and turns of updating your direct deposit information on Dayforce. Let’s celebrate our small wins, shall we?
To change your direct deposit on Dayforce, go to Dayforce and get that bank deets updated. First, log in to your account and hit up the “Profile and Settings” section. Then, click on the “Forms” tab and give that scroll wheel a workout until you find the “Direct Deposit” option. Finally, make sure to update your account information with utmost precision, double-check everything, and hit that submit button.
Voila! You should get a confirmation message that your money’s taking the new, updated route to your account. Now, sit back, relax, and wait for your next paycheck to hit your bank account. No more paper checks, no more trips to the bank. You’re living in the future!
Managing your finances has never been this simple. With quick and efficient access to your funds, you’ll be feeling like a money-savvy pro in no time.
